DC_Power_Drill.sh
TIME FRAME: November 2022 - December 2022
Custom-Fabricated DC power drill [AKA: A Fancy Glorified Screwdriver]
0|COOL PICTURE
1|CONTEXT
While I love most of my projects, this one holds a special place in my heart. The questionable screwdriver footprint you see above was my first truly complete project that involved prototyping a board and making it become a reality from start to finish.
The number of all nighters I spent soldering and prototyping different designs in random campus rooms at odd hours made it feel like I was being thrown off into the deep end (I was). Like many things in life, it wouldn’t be until much later after this project was complete that I would finally understand just how valuable this experience was.
From relearning circuit theory (RLC circuits feel like sorcery at times still) all over again to learning how to create a BOM and search and order parts from sites like DigiKey, to finally discovering how to properly hold an iron in a way that wouldn't end up with me burning myself every hour, this project singlehandedly taught me the fundamentals of practically everything. Most if not all of the concepts I have learned here apply to me and are essential in whatever I work on to this day, so it seems only fitting to list this project on the site.
2|OVERVEIW
I designed and constructed a PCB board based an LM555 Oscillator-based circuit that:
- Converts 20V battery power to 6V using a RLC based buck converter (to efficiently utilize the motor)
- Regulated motor speed based on a 10K potentiometer input
- Utilized an H bridge to control the direction of the motor, with a switch serving as the input from the user
Designing a proper schematic required me to further understand RLC circuits and brush up on relevant circuit theory. This process was straightforward and easy to accomplish. However, though the 555 timer is a standard component that is known and loved by all, trying to understand this component for the first time would be one of my most notable obstacles. Datasheets felt too foreign and complicated, and simply watching media online (though helpful) only carried my understanding so far.
What helped immensely was actually using the component hands on. I started small and just tried to get the device to emit a clock signal and analyze it on an oscilloscope. From there, I used the same 555 timer in other smaller breadboard projects to get a proper understanding of how to use different functions of the component and unlock its potential.
This was immensely valuable for me, but even after I had a good idea about how the components themselves could work, putting together a proper schematic first in theory and then in EAGLE for the first time took the longest amount of time for me to get through. I expected my experience with tinkering and repairing e-waste to help me greatly when I started the project, but I never realized that creating something from absolutely nothing would be a whole different ball game and experience.
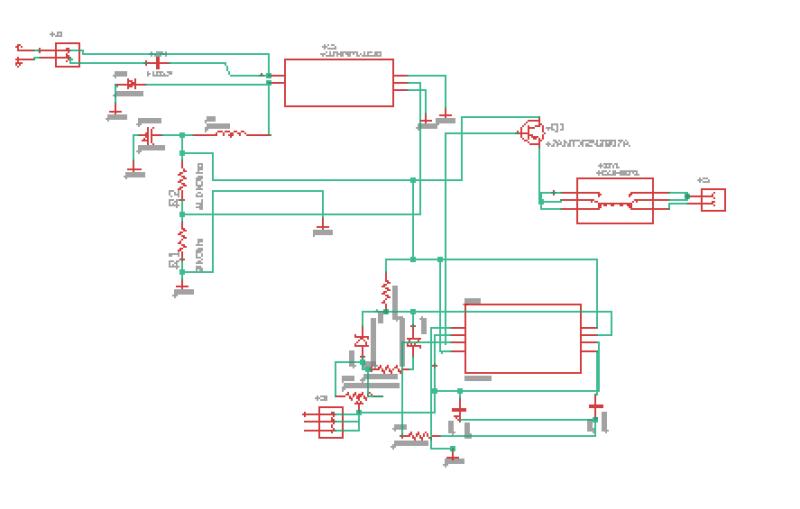
F1: EAGLE Schematic Editor
With enough time, things did become less challenging. Right before I resorted to pulling my hair out, I had a schematic that both included actual part libraries as well as correct math. Once everything miraculously checked out in theory and in the EAGLE schematic, these components were sourced and tested on a breadboard with a standard oscilloscope and multimeter.
Unsurprisingly, things went totally south at this stage, and I had to start the whole design process again.
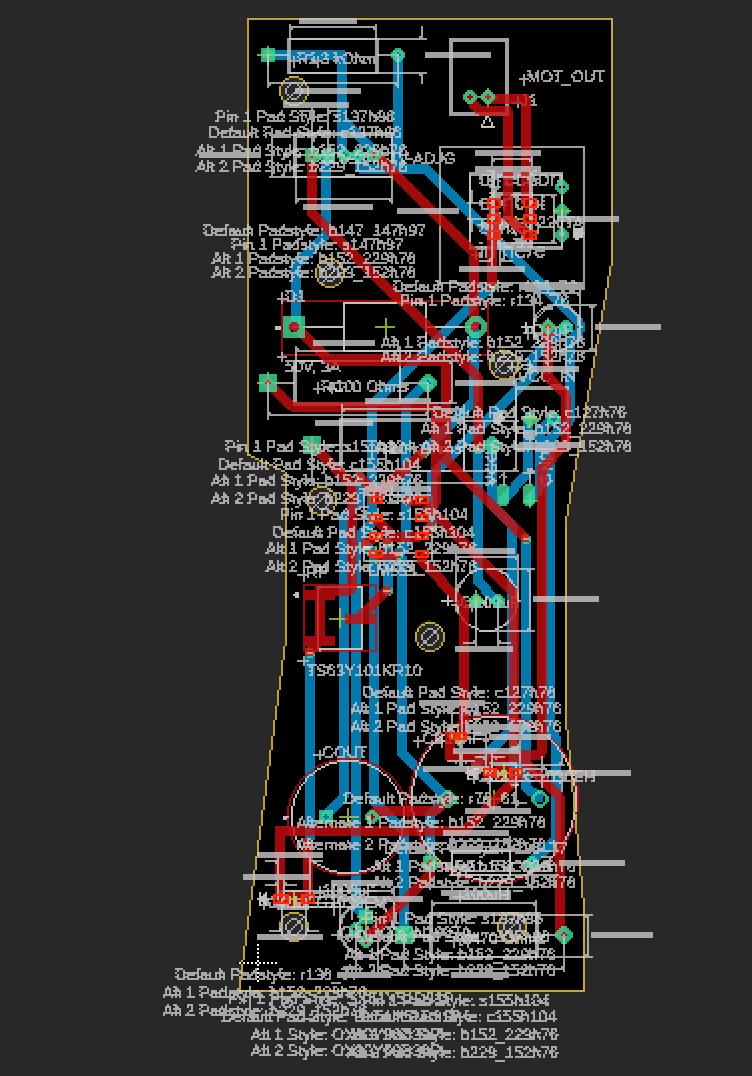
At some point though, a design found itself soldered onto a 2" Adafruit perf board before being turned into a PCB footprint. At this point, I had enough and just used the autorouter to do the traces. I learned about how to do it properly myself later that week on something else, and ground planes were introduced to me further down the line when I had to design a light ring for my club’s ROV (That project is coincidentally on this site too!).
3|ANALYSIS
The point is, the entire experience became a rite of passage for me. This one board gave me the opportunity to learn what resilience and problem solving really meant.
After all, getting through those first-time obstacles defined my perspective on how to do many things in this space, and finally creating something with my own two hands led me to discover the immediate rush of serotonin one feels when the vision they had finally exists in a tangible and physical way. That's when I knew I would be set on this path.
- [cd ..] BACK TO HOME